
I've been feeling crafty again... Which means I went to Pinterest! For ages now, I've been meaning to test out a pattern that was linked from there for a child's cape coat. I have a bizarre addiction to cape coats- don't ask me why, I just think they're fabulous!

Today, I gave it a try and I'll show you everything!
Be Warned: This Post is LOOOONNNNGGG!
To begin with, the link for this cape tutorial can be found here. It is stated on there, and I will say it again for everyone: This tutorial is for personal use only.
I have dreams of this cape in so many fun colors and fabrics. But the one I made today was done in a cheap-but-functional fashion. I went to Wal-Mart and bought inexpensive fabric so that if this turned out to be a flop it wouldn't be an expensive one.
Materials I used:
- 1 yard crushed velvet
- 1 yard satin
- 1 yard lace fabric
- 1 large decorative button
- Tape measure
- Silk pins
- Fabric scissors
- Peter Pan collar pattern cutout (found in the original tutorial)
- Regular scissors
- Needle
- Thread
- Sewing machine
- Iron
- Seam puller


From these piles you'll be able to make an outer cape piece, two cape lining pieces (this was just how I chose to make mine), and two collar pieces. Because some instructions in the tutorial were a little vague, I took pictures of each teeny step to share. That is why this post will be monstrous. But I hope it's helpful.
Before you begin this project, I recommend printing off the Peter Pan collar pattern from the tutorial if you do not have one, which I did not, and cut it out with regular scissors. Also, I recommend turning on your iron now so that it will be ready to use when you need it.


Start at the very beginning:
1.) Fold one of your fabric pieces in half.

2.) Fold this piece in half again. You want the piece folded in fourths.

For the next steps, you'll be working from the folded edges:

3.) Start from the corner your folded edges create and use your tape measure to measure down 2 1/2 inches. Insert a pin to mark the place.

4.) Use your finger to hold the tape measure in the same corner and move it towards the middle. You will mark this with another pin. Continue to the opposite side of the corner.


These pins will serve as guides for the neck opening.
5.) In the original tutorial, it says to start at the same corner on the folded edges and measure out nineteen inches. My fabric was not large enough to do that. So I measured 18 1/2 inches and marked that place with another pin.

6.) Like the smaller circle from above, anchor the tape measure in place and rotate it along the fabric, marking your length at intervals with pins.
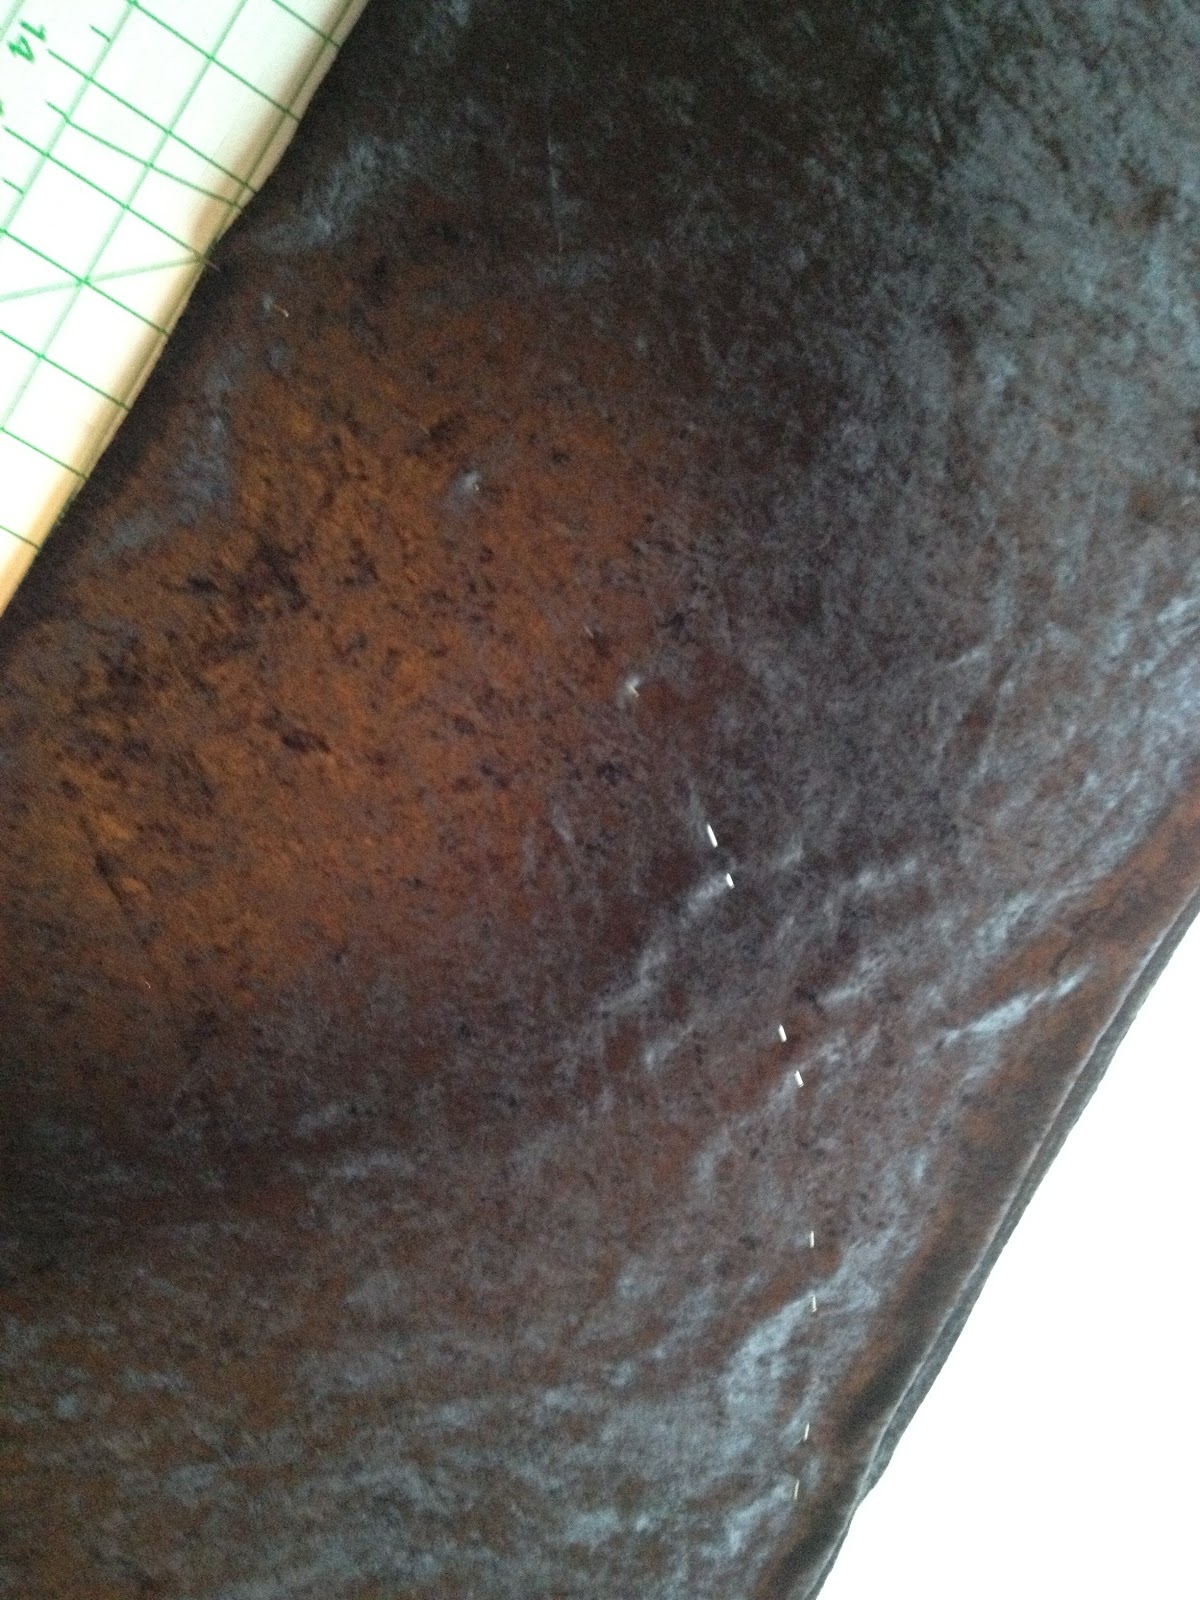
I realize it's hard to see my pins with the sheen of the fabric- sorry for that!

This is what your fabric should look like.
7.) Use your fabric scissors to cut, using these pins as your guide. Cut below the pins on both lines.


This is what you will end up with.
8.) Use your fabric scissors to cut up one of the folded seams to leave the circle open. This will be the front of the cape.


When you unfold your fabric, this is what you will be left with.
9.) Repeat the above steps to cut your lining piece (or, as in my case, pieces).

Time to make the collar! For this you will need two pieces of the fabric you've chosen for your collar, your pattern, pins, and scissors.

One thing to note here: Before you cut out the collar pattern, you will see at one edge the words "Place on Fold". This pattern is for half a collar. You will fold your fabric in half, and voila! Place on fold... :) I'm sorry if this seems tedious to some- there are people out there who had no idea what the heck that meant.
10.) Cut out two pieces of folded fabric large enough for your collar.

11.) Align the two pieces with the folds together.


I'm sure you can see- I left space at the top of this pattern. This is because I was not exactly happy with the size of the collar and tried adding to it this way. You can do this if you'd like. I'm not sure it made a lot of difference.
13.) Cut out the collar pieces. I cut leaving extra material around the pattern for the seams.

You should be left with two pieces like this (still folded, then unfolded):


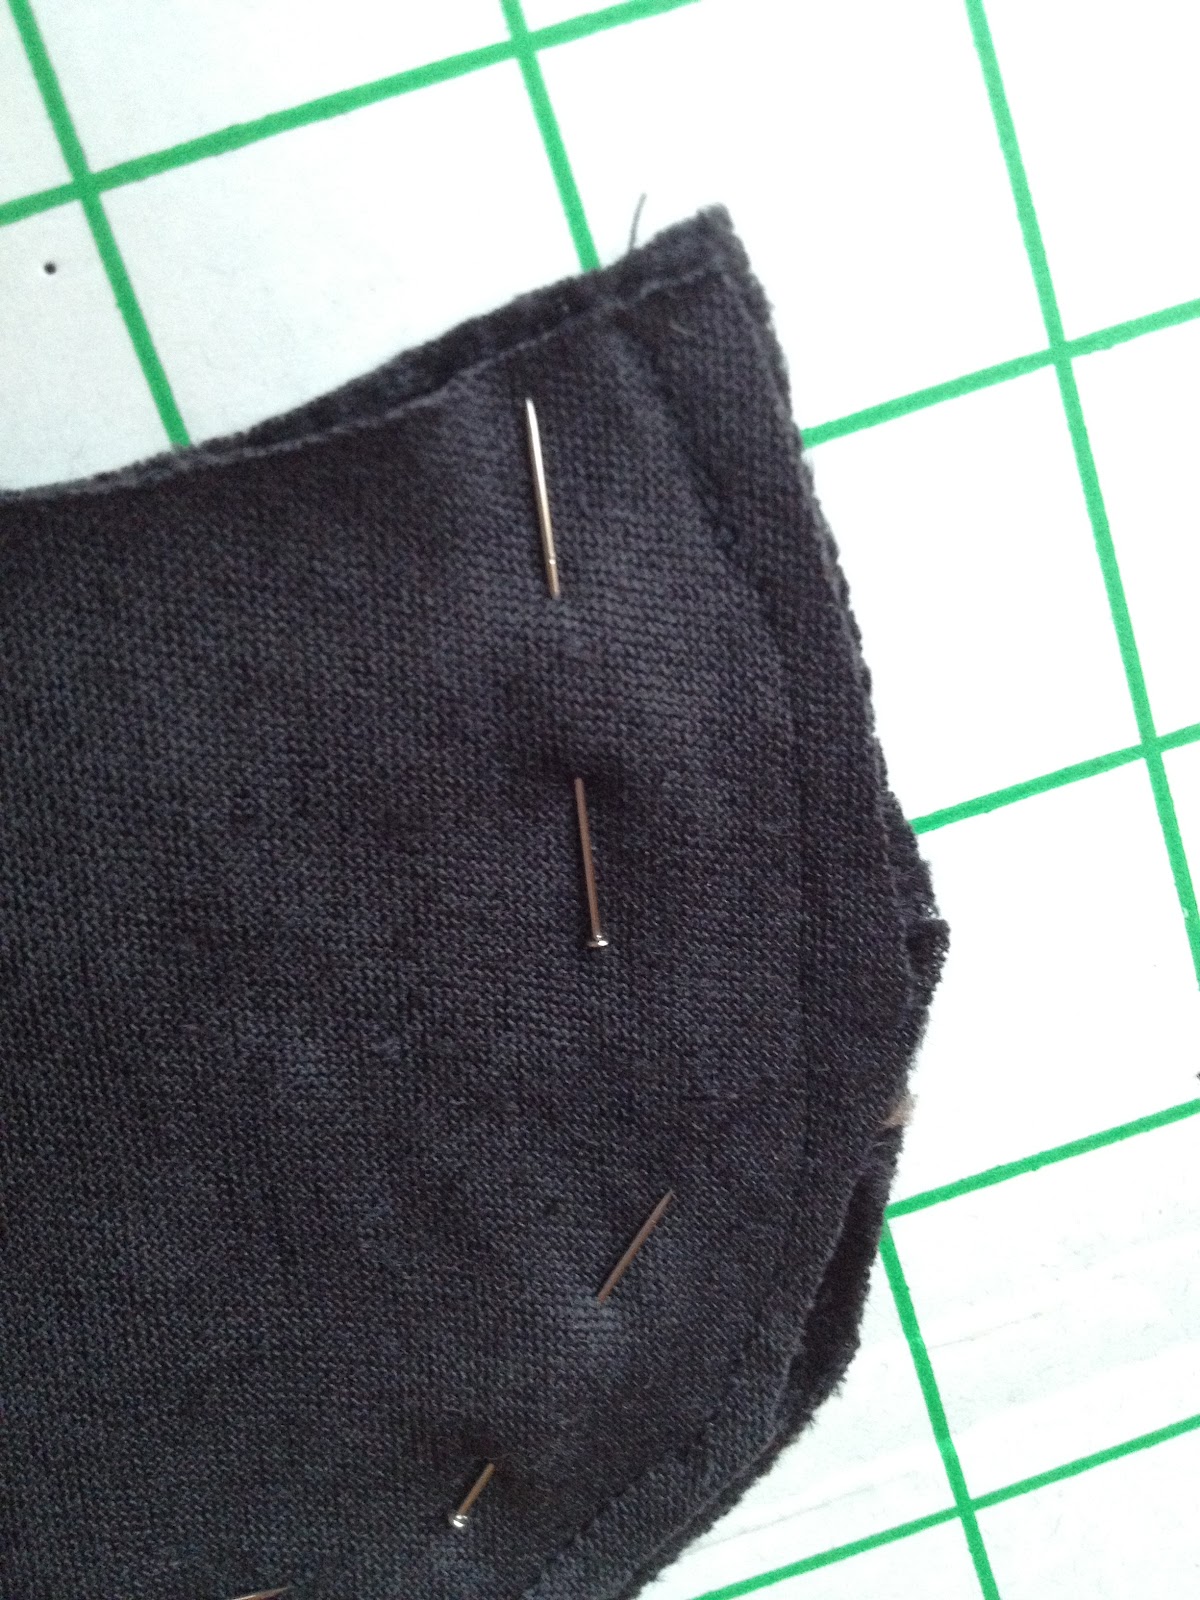
14.) Place the two collar pieces together, right sides (in this case, the fuzzy side) facing each other, then pin.

15.) Sew along the outer seam (the long side). Leave the inner seam (the smaller semi-circle) un-stitched.

15.) Remove the pins and trim any excess fabric.

16.) Flip the collar right side out, and smooth out the seams. Use your iron to press the seams flat to keep the collar from being puffy and wonky looking.


Time to line up all your pieces!!!
17.) Start with the outer layer, right side up.

18.) Fold your collar piece in half to find the center. I marked mine with a pin. Then align the center of the collar with the center of the outer layer neck-hole.


19.) Use pins to tack the collar to the outer layer. You will have extra fabric around the neck hole at the front of the cape.

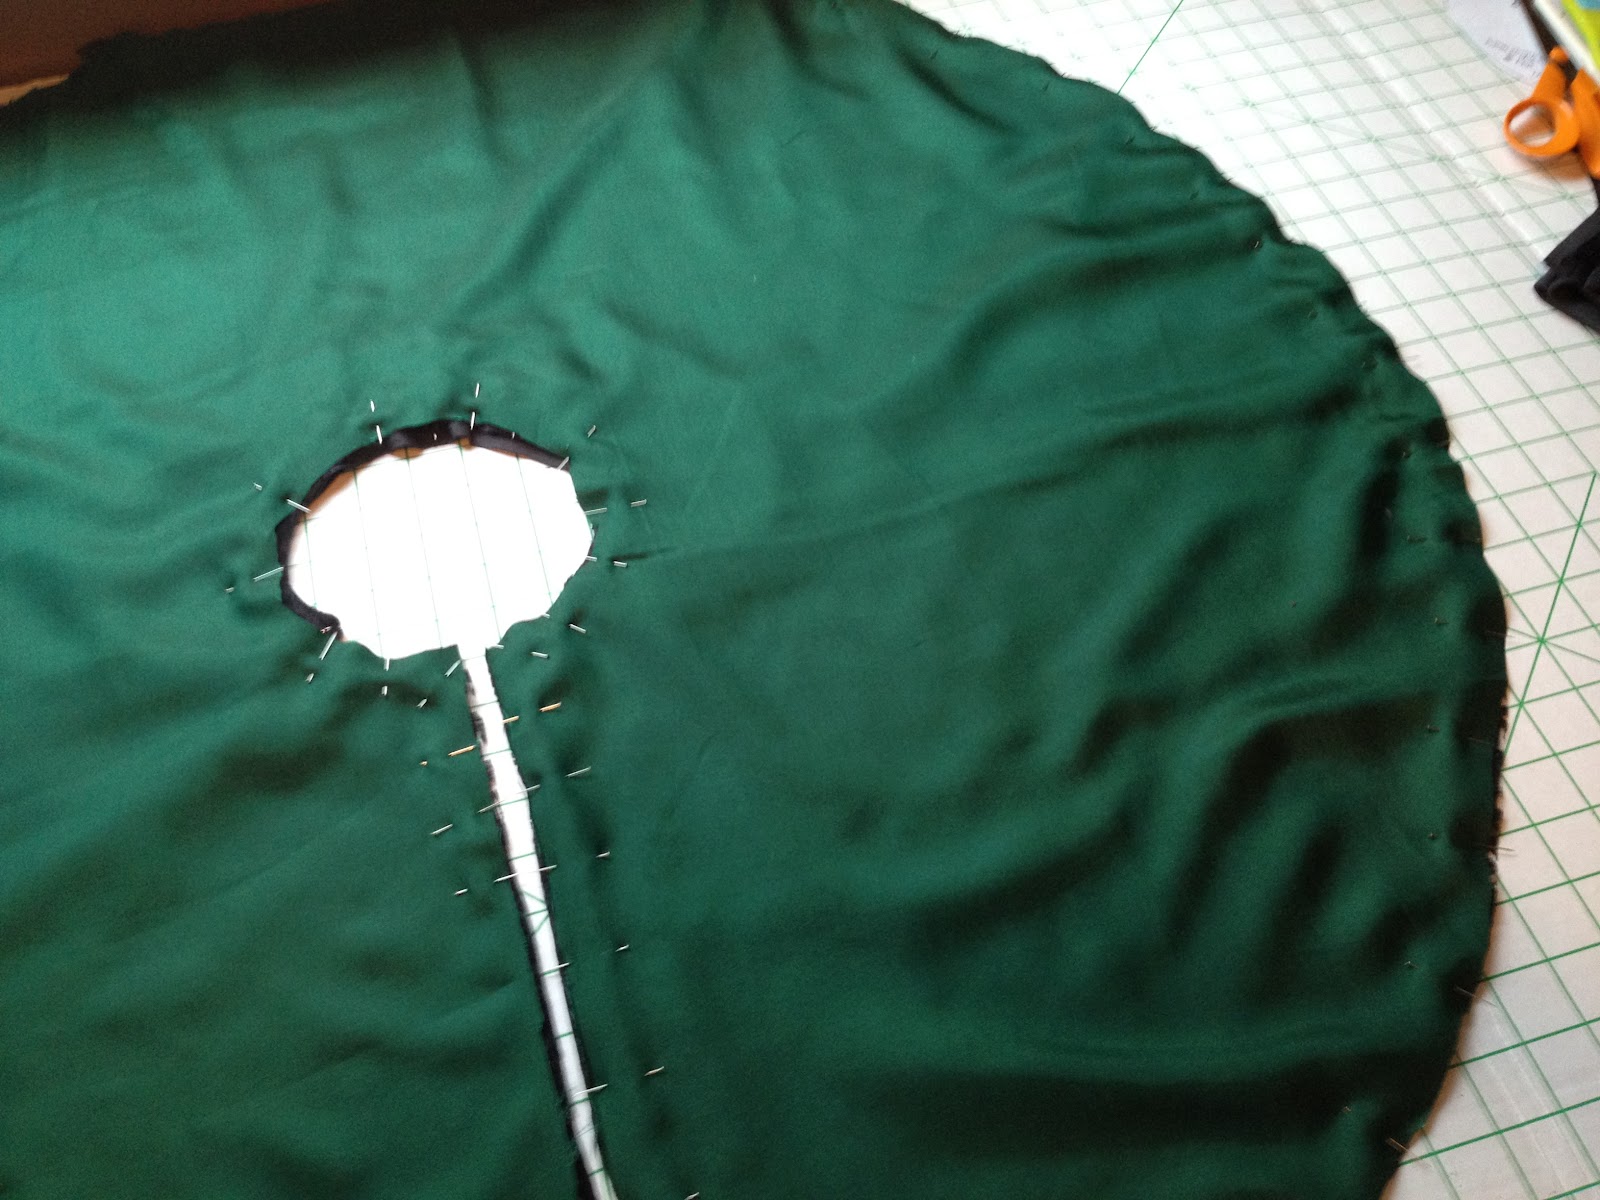
20.) Lay the lining layer directly on top of the outer layer/collar, right side facing in. In my case, I had two lining layers. I wanted the lace to overlay the satin, so the order of my layers were: Outer, Collar, Lace, Satin. I used a pin at each "corner" to hold my layers in place while I smoothed them out.


21.) Tack the pieces together with pins all the way around. Leave an opening to turn the cape back to the right side.


22.) Sew the seams. Remember to leave an area open to turn the cape.


22.) Remove the pins and turn the cape. Be smarter than me: remember that there will still be pins inside from the collar. Don't stab yourself.


23.) Remove the pins from the collar. Smooth out and press the seams.


24.) You'll need to stitch shut the opening you left. I sewed a seam along the edges to give it a more finished look and close up the hole.
25.) Add your button hole. My sewing machine has the capability of making one for me. All I had to do was use a seam puller to rip the fabric. If your machine cannot do this, you can always make one with zig zag stitches, which is how I learned to make a button hole when I was little from my grandmother. A tutorial for this can be found here.


26.) Attach your button. My sewing machine can do that too, so I found out today, but I didn't feel like figuring out how to make it work. So I did it the old fashioned way- needle and thread!


So there you have it! The tutorial was a success, and I'm looking forward to making better ones in the future! The cape making itself was not very extreme. In fact, it was really an easy project. If you want to make your sewing extreme the D way, toss in a cranky toddler opening all of your drawers while you work, hold an infant in your lap while you sew, change a few diapers, feed a bottle, and explain why chocolate chip waffles are not an acceptable afternoon snack! It turned a simple project into an Olympic sport!
For everyone who enjoyed this, my next project will be a hat to go with the cape! That post soon to come!
'Til Later!
-----D